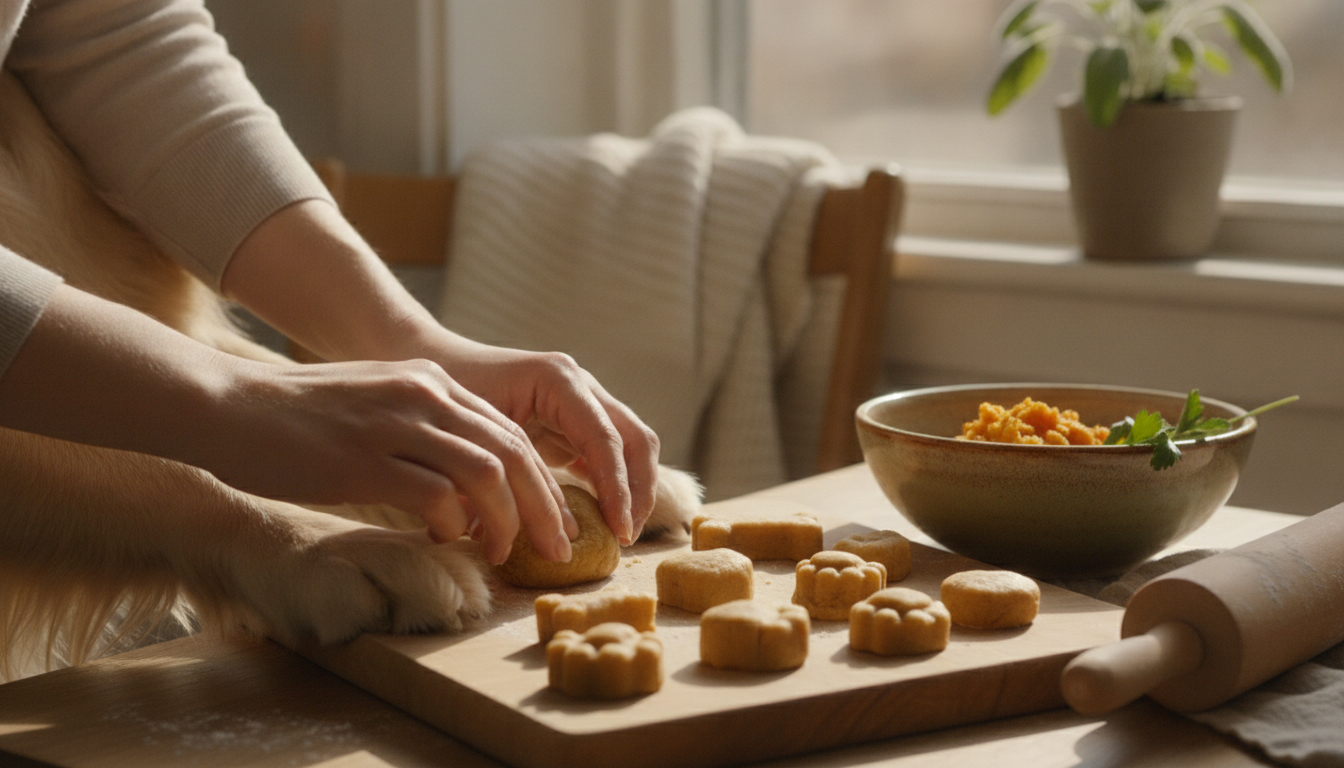

Making your own dog treat molds at home can be a fun and rewarding project. It allows you to create unique shapes and sizes tailored to your dog's preferences and dietary needs. Plus, homemade molds can be more cost-effective than store-bought options. In this guide, we'll explore how to make dog treat molds, the materials you'll need, and tips to ensure your molds are safe and effective for your dog.
Why Make Your Own Dog Treat Molds?
Creating your own dog treat molds offers a personalized touch that you simply can't get with store-bought versions. You have the freedom to design molds that represent your pet's personality, whether it's bone-shaped, paw-shaped, or something entirely unique. Homemade molds also allow you to control the size of the treats, which is essential if you're managing your dog's weight or have a breed with specific dietary needs.
Moreover, making your own molds can be a cost-effective solution. While silicone molds can be expensive at the store, creating them at home often requires just a few affordable materials. Plus, the satisfaction of making something yourself adds a bit of joy to the process.
Materials Needed for Homemade Dog Treat Molds
To get started, you'll need a few key materials. The primary material for making dog treat molds is food-grade silicone, which is safe for both humans and pets. You can find this online or at specialty craft stores. Other materials you might need include:
- Mixing bowls and spoons: For combining your silicone mixture.
- Measuring cups: To ensure the right proportions of silicone and catalyst.
- A design template: This can be anything from a plastic toy to a cookie cutter.
- Release agent: Such as cooking spray, to prevent sticking.
- A clean, flat workspace: To work without making a mess.
Before starting, ensure that all materials are food-safe. This is crucial for your pet's health. The ASPCA recommends avoiding any materials that could potentially harm your pet if ingested.
Step-by-Step Guide to Making Dog Treat Molds
Step 1: Select Your Design
Choose a design for your dog treats. This could be a favorite toy or a simple shape like a bone or star. Keep in mind your dog's size when selecting the mold's dimensions. Smaller dogs might prefer smaller treats, while larger breeds might need something more substantial.
Step 2: Prepare Your Workspace
Set up a clean, flat workspace where you can safely mix and pour your silicone. Make sure you have all your materials within arm's reach. Lay down some newspaper or a plastic sheet to catch any spills.
Step 3: Mix the Silicone
Follow the instructions on your food-grade silicone package to mix the silicone and catalyst. Typically, you'll mix equal parts of each in a bowl. Stir the mixture thoroughly until it's completely combined. Be sure to work quickly, as silicone can begin to set fast.
Step 4: Coat the Design Template
Lightly coat your design template with a release agent like cooking spray. This will ensure that the silicone doesn't stick to it. Place the template on your workspace.
Step 5: Pour the Silicone
Carefully pour the silicone mixture over your design template, covering it completely. Use a spatula to spread the silicone evenly and eliminate air bubbles. Depending on the size of your mold, you might need to pour in stages.
Step 6: Let It Cure
Allow the silicone to cure according to the time specified on the package. This typically takes 12-24 hours. During this time, keep the mold in a dry, undisturbed area.
Step 7: Remove the Mold
Once the silicone has fully cured, gently remove the mold from your template. Clean up any rough edges with a pair of scissors or a craft knife.
Tips for Successful Dog Treat Molds
- Choose Simple Designs: Intricate designs may not mold well and can be challenging to clean.
- Test First: Test your mold with a small batch of treats to ensure it's functional and releases easily.
- Check for Allergies: If you plan to add food coloring or other elements to your silicone, make sure they're safe for dogs.
- Regular Cleaning: Clean your molds regularly to prevent bacteria buildup. Most silicone molds are dishwasher-safe, but always check the manufacturer's instructions.
Frequently Asked Questions
How long do homemade silicone molds last?
With proper care, homemade silicone molds can last for several years. Regular cleaning and careful handling will extend their lifespan.
Are homemade silicone molds safe for dogs?
Yes, as long as they are made from food-grade silicone. Avoid using any materials that aren't specifically labeled as food-safe.
Can I use the same mold for human treats and dog treats?
While you technically can, it's best to keep separate molds for human and pet use to avoid any cross-contamination of allergens.
What if my dog is allergic to silicone?
If your dog has a silicone allergy, consult your veterinarian before using silicone molds. They might suggest alternative materials for mold-making.
Can I make molds for baked treats?
Absolutely! Silicone molds are oven-safe and can be used for both baked and frozen treats. Just ensure they're rated for the temperature you plan to use.
Key Takeaways
- Homemade dog treat molds offer customization, cost savings, and a personal touch.
- Food-grade silicone is essential for safe, pet-friendly molds.
- Follow a simple step-by-step process to create effective molds.
- Regular cleaning and care extend the life of your molds.
- Always verify materials are safe for pet use to prevent health issues.
Sources
Remember, WellWhisker's Recipe Lab feature can help you create personalized treat recipes for your dog, ensuring that every homemade treat is as healthy as it is delicious. Check it out to make the most of your new molds!
Make something for your dog
Easy homemade treat recipes, plus a simple way to save the ones you find online.
Get Started